Adding and Configuring the Lead Generator
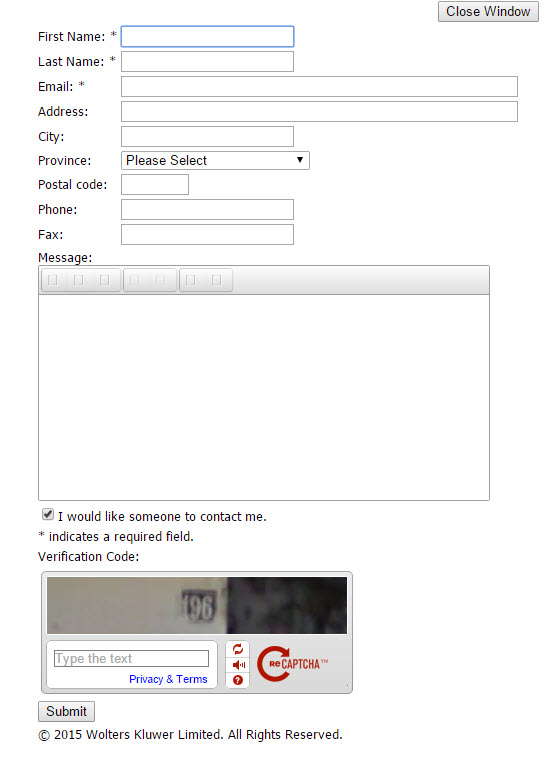
The Lead Generator provides a way for Web site visitors to contact you with questions or comments. When you activate the Lead Generator, an icon that is used to open a contact form is added to your Home page and to your Contact Us page. You can use the information gathered in this form to compile a list of prospective clients. ![]() Show me what the Lead Generator contact form looks like.
Show me what the Lead Generator contact form looks like.
When you set up Lead Generator, you can specify which email address will receive the Lead Generator submissions. You also can give visitors the option of sending messages to specific staff members.
To add and configure the Lead Generator, do the following:
- Log in to your Site Builder account.
- Click Modules > Lead Generator on the toolbar. The Modules - Lead Generator page displays.
- Select the email address where Lead Generator submissions should be sent. You have the following options:
- Select the Lead Generator icon to display on your site. The icon is the link that visitors click to open the Lead Generator contact form.
- Click Yes for the question "Show Lead Generator?" to add the Lead Generator icon to your Web site.
- Click Yes for the question "Tell a friend form?" if you want to display the Tell a Friend form after the comment or question is submitted.
 Show me what the Tell-A-Friend window looks like.
 - If needed, you can click Visitor's Contact History to view a list of people who have submitted questions or comments with the Lead Generator. See Managing Contacts Gathered from the Lead Generator for more information.
- Click Accept to save your changes.
- Click Preview to see what your site will look like when your changes are applied. The preview opens in a new different browser tab or window.
- Click Publish to immediately update your Web site or click Next to continue to the next page.