CCH Axcess Portal provides a secure location for exchanging files with your customers. If you license Portal, you can add a dedicated Portal login page to your site. The login page will open Portal in a secured window. Adding this page will offer convenience for your clients. It also provides a way for you to present your Web services as an integrated whole.
To add the Portal login form to your site, do the following:
Log in to your Site Builder account.
Click Site Design > Edit Pages on the menu bar.
Click the add button above the Pages list, and then select CCH Axcess Portal from the list of pages.
Edit the information about the page.
Page Content. Use this section to change the identifiers used for a page, as well as to add, edit, or delete content for the page.
Component
Description
Page name
Name that displays at the top of the page and in your site's menu bar; by default, the page name is CCH Axcess Portal.
File name
Name that appears after the domain name in the URL for the page; by default, the file name is portal.html.
Title
Name displayed in the browser title bar.
Page text
Text to display on this page above the Portal login form. Use the formatting tools beneath the text box to format the content
Hide this page from the main navigation
Select this option if you do not want this page to be visible in the navigation bar for the site. If you select this option, you can send your clients direct links to this page as needed.
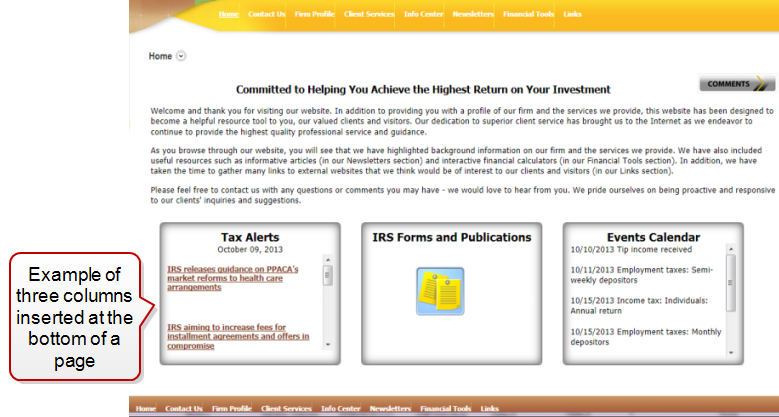
Edit Columns. Use this section to add columns containing information or links beneath the main content of the page. These columns will display above the bottom navigation bar, if the site style you have chosen includes one.
Select the Show columns on this page check box to display the columns. Clear the check box to remove the columns from the page.
Select a style option from the Select a style for this section list to change the appearance of the columns.
If needed, add or remove columns from the layout.
If fewer than three columns are displayed, you can click the add button at the far right to add up to three columns.
Click the delete button beneath a column to remove the column from the layout. Keep in mind the following:
The site design can affect the way the columns display on your site. For example, in a narrow site design, your columns may be stacked on top of each other instead of displaying side-by-side. Always preview your site before publishing so you can check for unexpected display issues.
When your website is viewed on mobile devices, columns will be stacked on top of each other.
Beneath each column, select the type of link or content to display in that column. You can also create a custom column that displays content that you enter manually.
Select Custom Column in the box beneath a column.
Enter the column title.
In the Content box, enter and format the information you want to display in the column.
Click Accept.
Search Engine Optimization (SEO). Add keywords and descriptions that will make your page more visible in web searches. See About Search Engine Optimization for more information.
Click Accept to save your changes.
Click Preview to see what your site will look like when your changes are applied. The preview opens in a different browser tab or window.
Click Publish to immediately update your website, or click Next to continue to the next page.